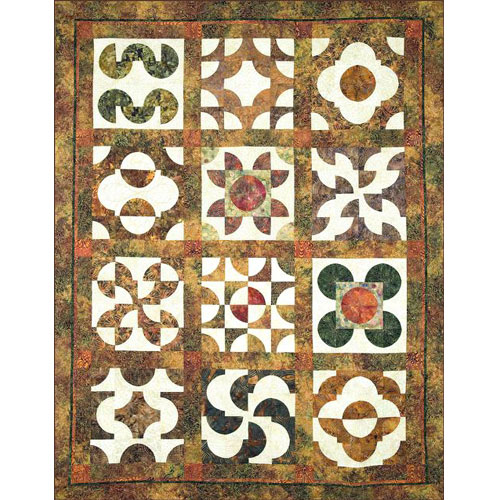
Are you ever disappointed with your quilt when you are finished?

Ooops! Now this was just a case of going too fast! The trusty seam ripper and a flip of the fabric will fix the problem.
But sometimes the problem is a little more, and harder to fix – it’s not square, there are tucks or gathers, it’s not the size it’s supposed to be, it’s just generally wonky. It might be time to go back to basics. Even if you are not having trouble, it would still be a good idea to revisit these important habits.
1. Prewashing. Now that’s a whole debate on it’s own (LINK TO PREWASHING POST), but whatever you decide to do, it’s a good idea to do the same thing with all the fabric in a particular quilt. Either wash it all before you start, or don’t wash any of it. Otherwise when you wash your completed quilt, the parts that were prewashed have preshrunk; the parts that weren’t prewashed may shrink more that the rest and skew the whole project.
2. Cutting. If you need to cut several strips, be sure to square up your fabric after every few strips. It’s not uncommon to be just the tiniest bit off on each strip and then that adds up. The next thing you know you are 1/8″ (or more!) off. It’s also a good idea to keep change your rotary cutter blade as soon as it gets the slightest bit dull. A sharp blade means smooth and even edges.
3. Quarter inch seams – make sure they really are! Being off by just the smallest fraction on every seam can really add up! There are several ways to ensure you are sewing consistent quarter inch seams. Choose your favorite way, then stick to it!
4. Pressing. That’s right. Pressing. Not ironing. Always lift your iron as you move to a new section to be pressed. Pushing your iron around the fabric and result in fabric that is stretched out of shape. Even worse, it can stretch your finished blocks out of shape!
5. Pin your borders. When sewing long lengths of fabric together one of them can stretch or get “gathered in” as you go, thereby throwing your quilt out of whack. After you have measured and cut your borders, lay them on your quilt and use several pins. This will ensure that both the border and the center of the quilt will load through your machine evenly.
Do yourself a favor and review these before you next project. Then reap the rewards of a quilt well done!
 BOM, Patterns, Quilt Patterns, Techniques, Templates
  No Comments


